
In this post, we will explain the process of GSTR-9C JSON creation and upload to GST portal in Saral GST.
To begin with, in the previous post, we had seen how to prepare GSTR-9C. Now, we will see the next part of GSTR-9C return filing.
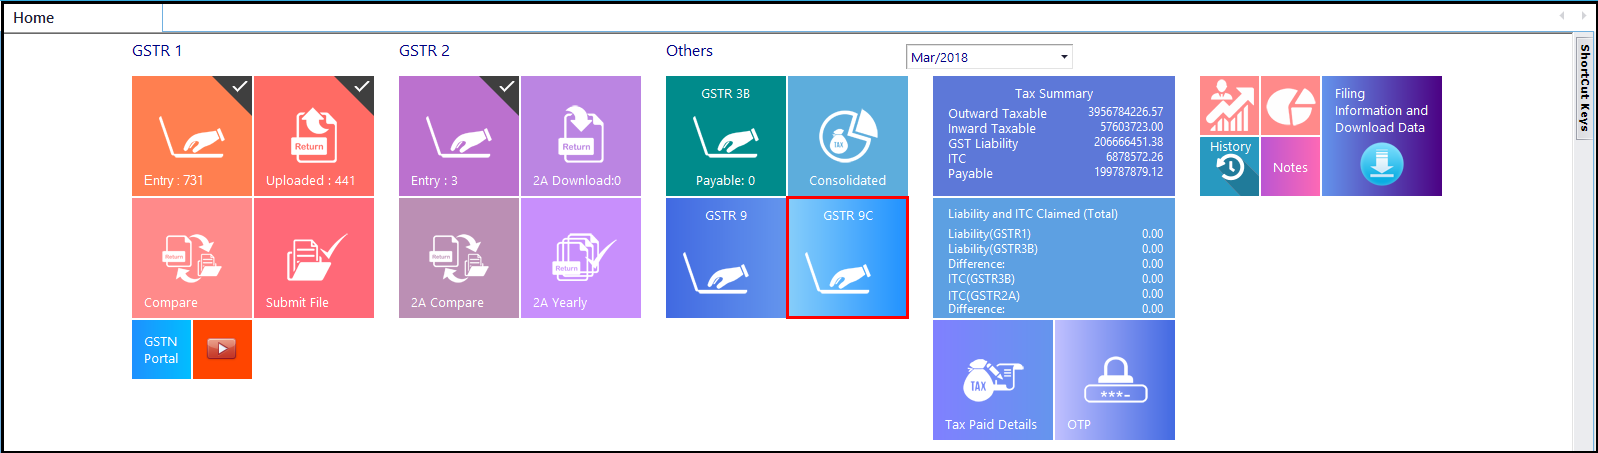
Firstly, after preparing GSTR-9C details, go to GSTR 9C in the dashboard.
The GSTR 9C entry window will be displayed. Here, click on Upload and select on Create JSON option.
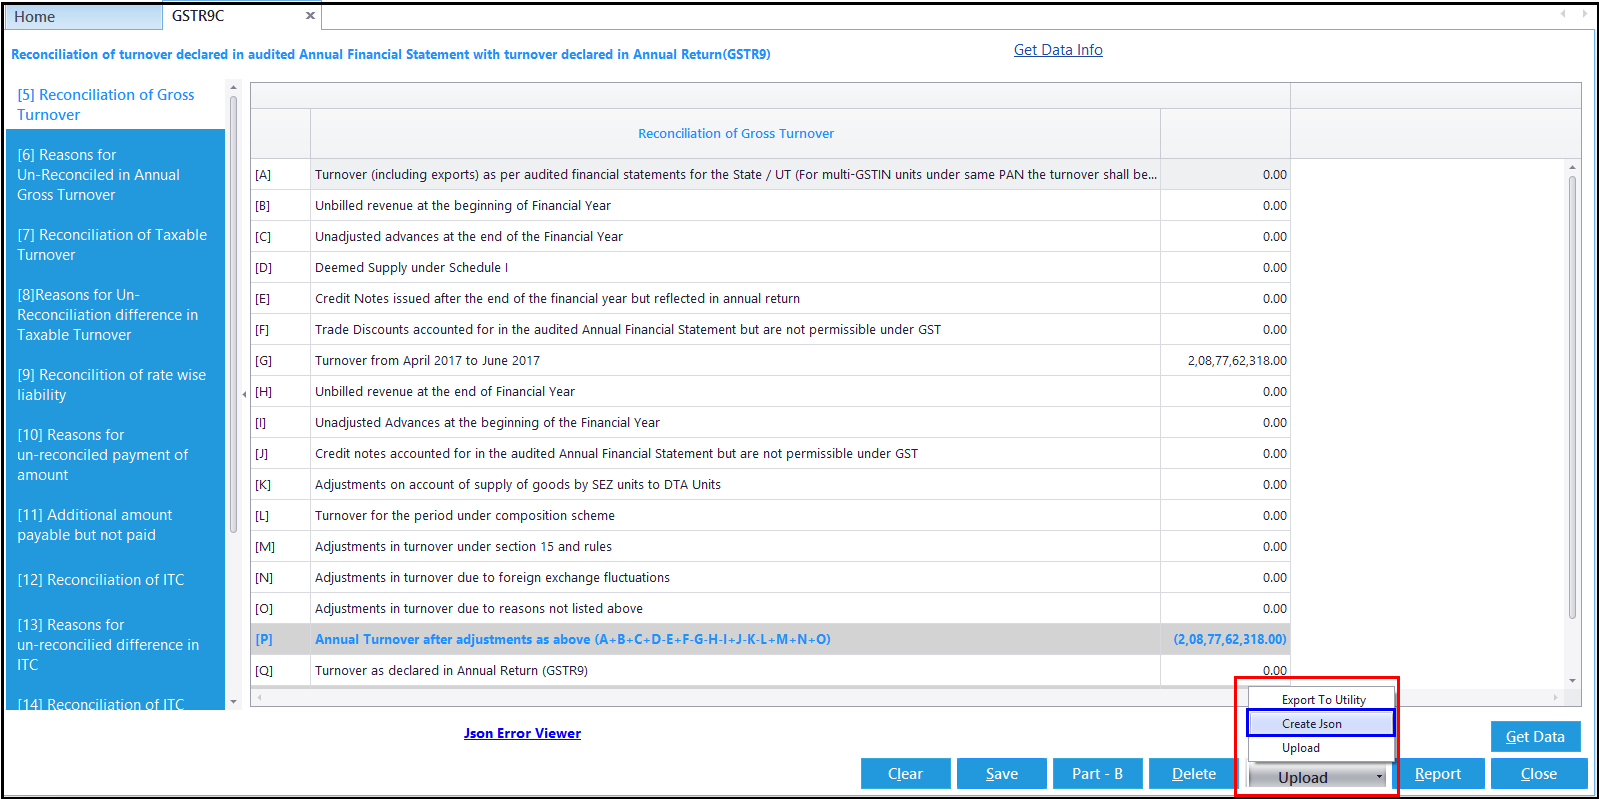
In case of any error during Json file creation, the error will be displayed on the screen, rectify the errors and repeat the process of JSON creation. On successful creation of the JSON file, the folder containing the file will be displayed.
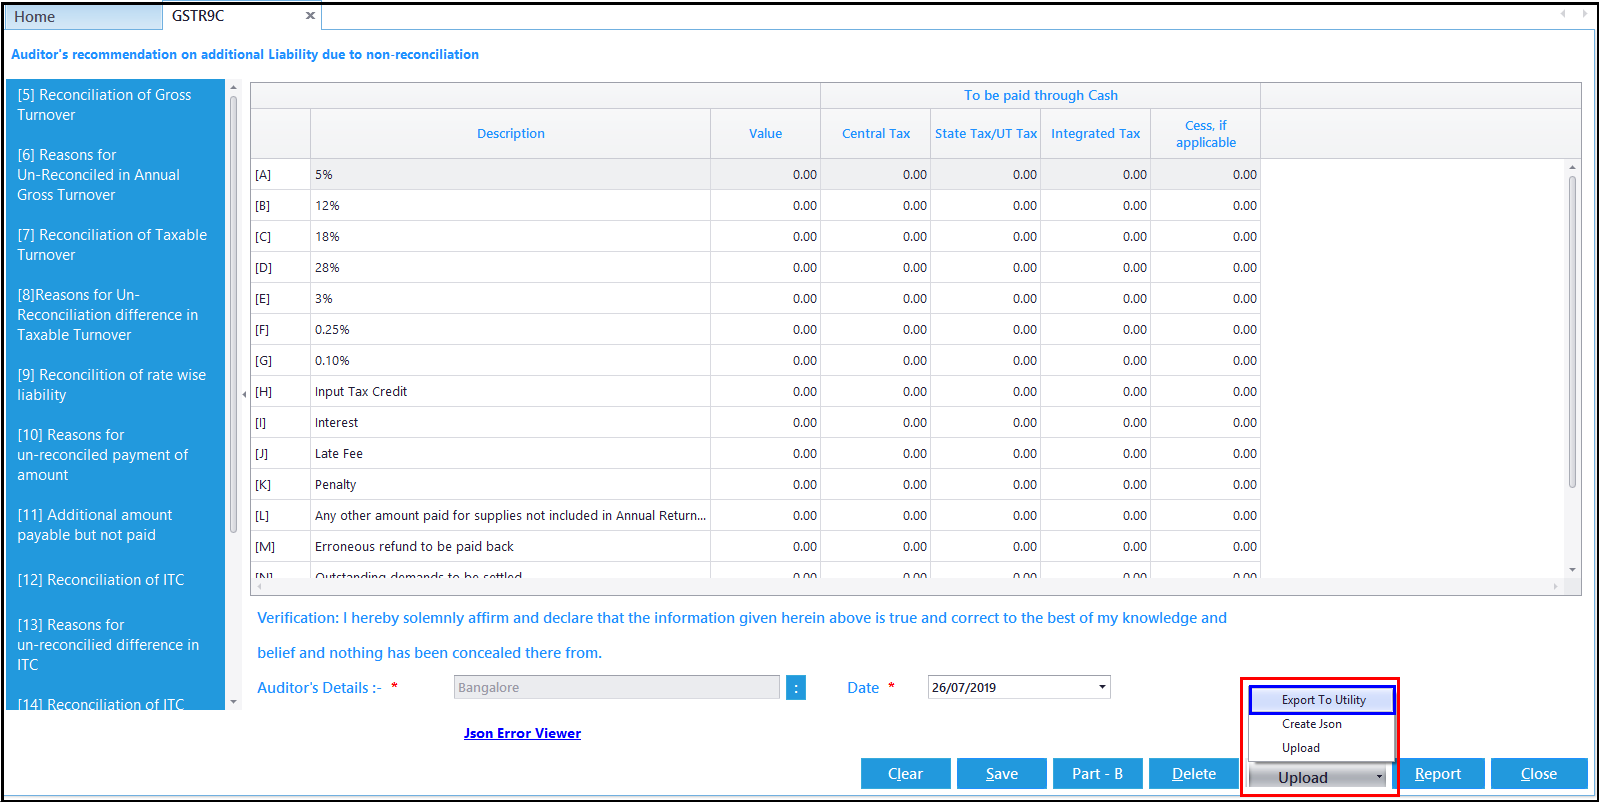
As you have to file GSTR 9C with Digital Signature, we recommend to export the data first to the excel template given by the department and then upload the details to the GST portal.
To export the details to Excel template, click on Upload and select on Export to Utility option.
Note:
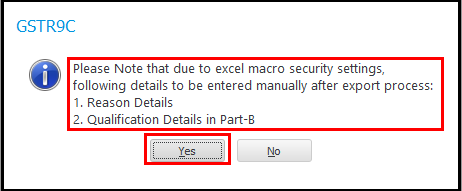
Few details will not be exported to the excel template to certain Excel settings. The details which will not be exported will be displayed on the screen. Click on Yes to continue.
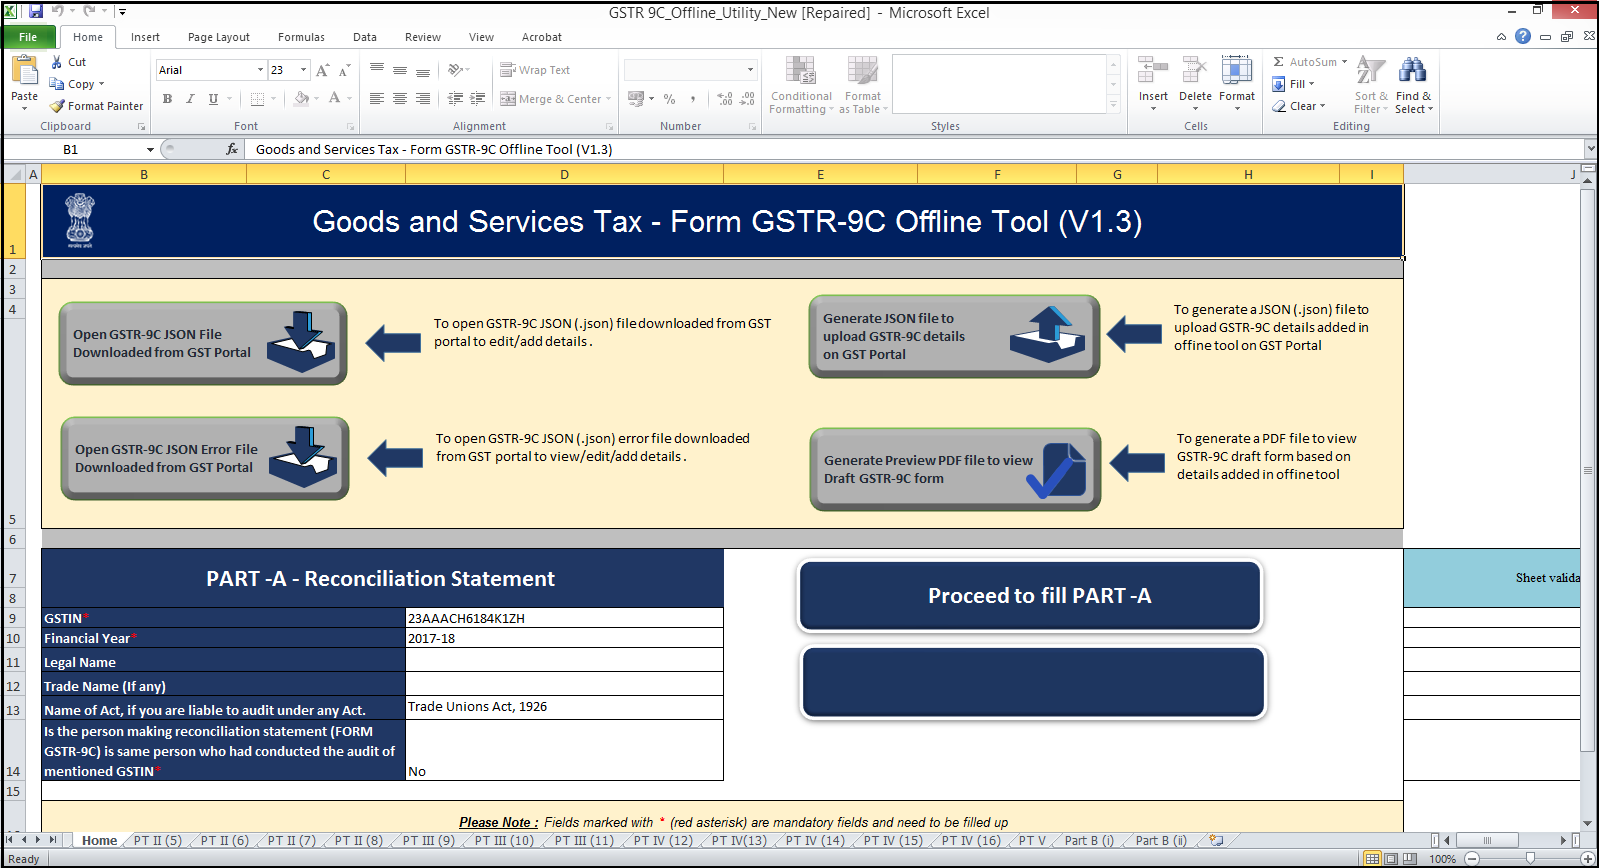
The Excel template with the data ported from the software will be displayed. Do the relevant process i.e., Error rectification, digital signature attachment, Json generation etc., in this file and upload the return to GST Portal.
Finally, this completes the process of uploading GSTR 9C return to GST portal.